Tutorial: Follow the screenshots step-by-step. For exact field rules and edge cases, open Create your first link page.
This page is a **visual walkthrough** of the product. For exact field rules and option behavior, use **[Create your first link page](https://docs.onlynk.me/create-your-first-link/)** alongside it.
---
## 1. Open the marketing site
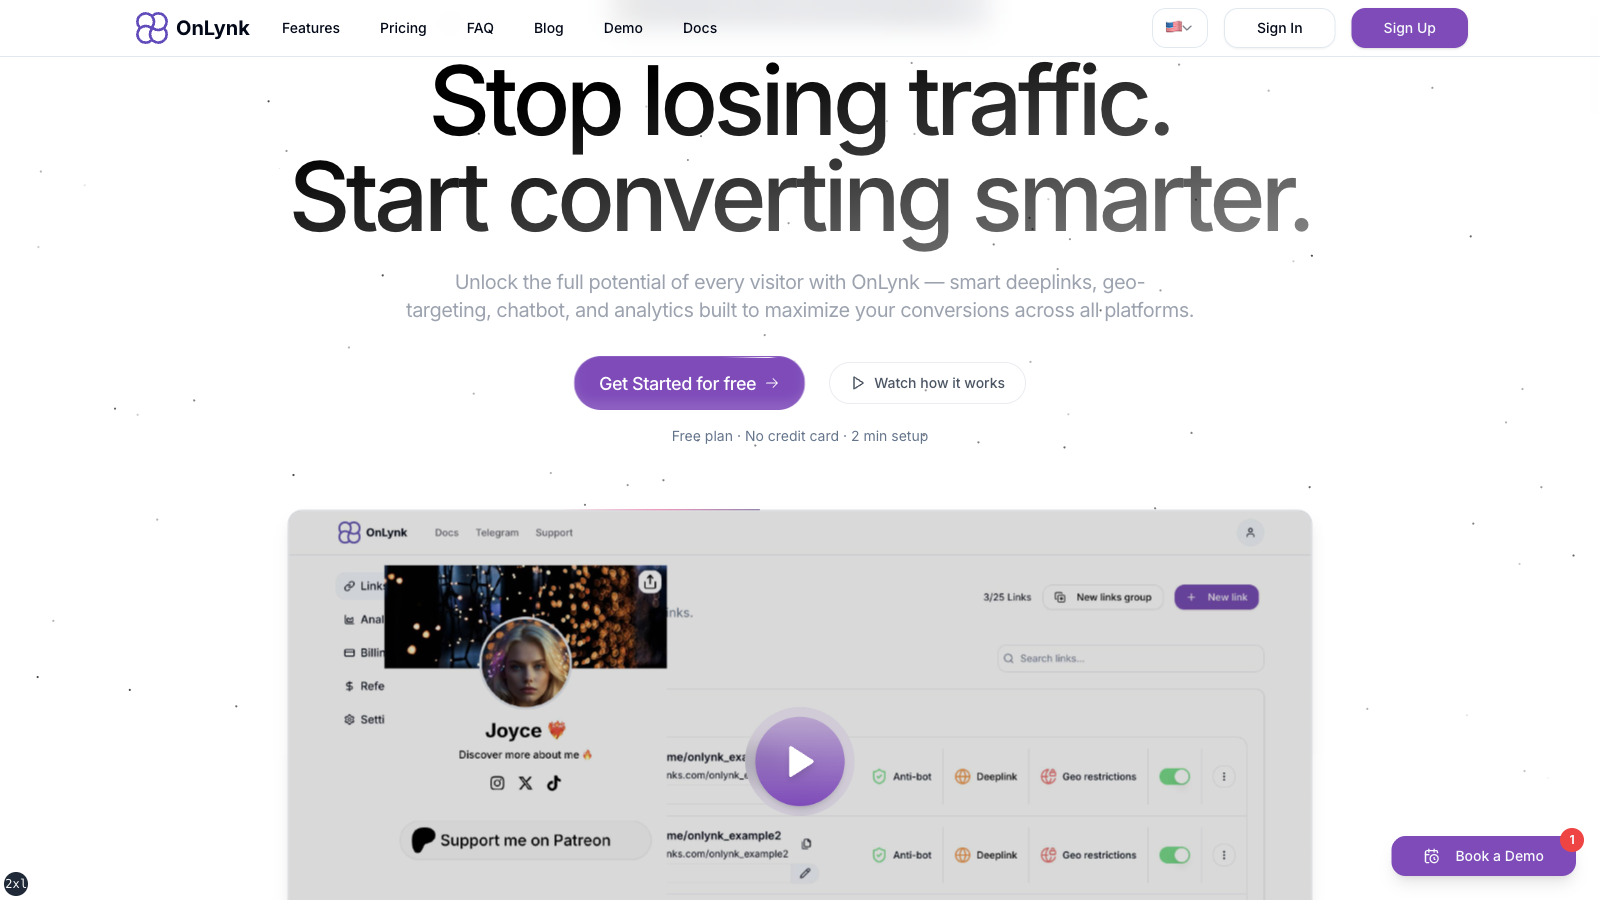
Go to **[onlynk.me](https://onlynk.me/)**. The home page presents the product positioning and entry points to sign up or sign in.
Marketing homepage — hero and primary calls to action.
---
## 2. Explore features and pricing (optional)
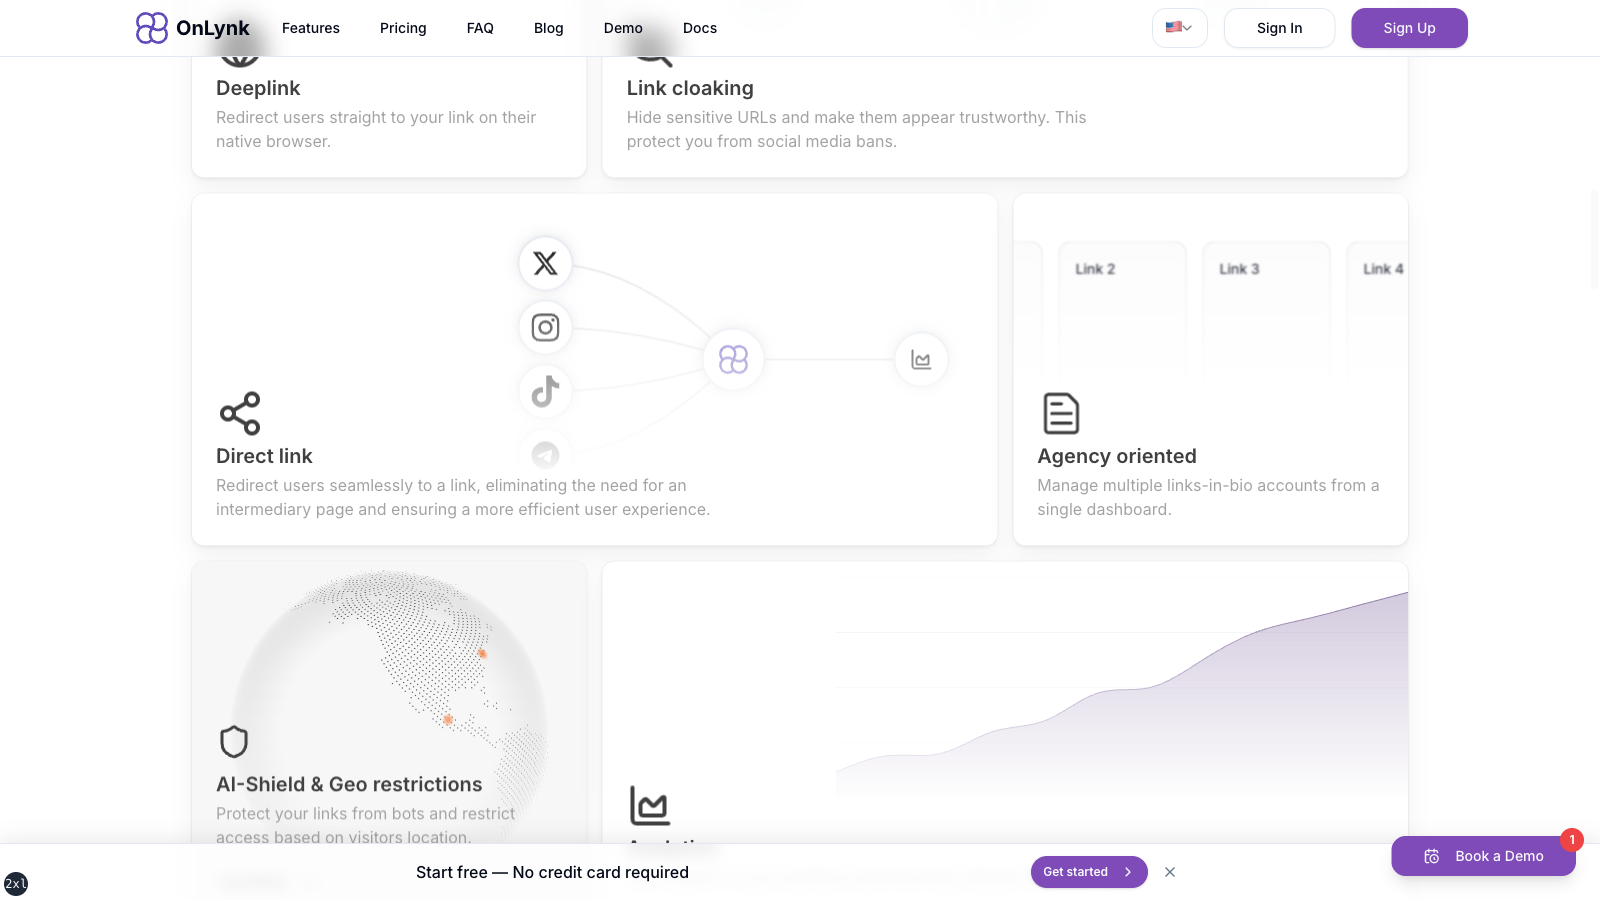
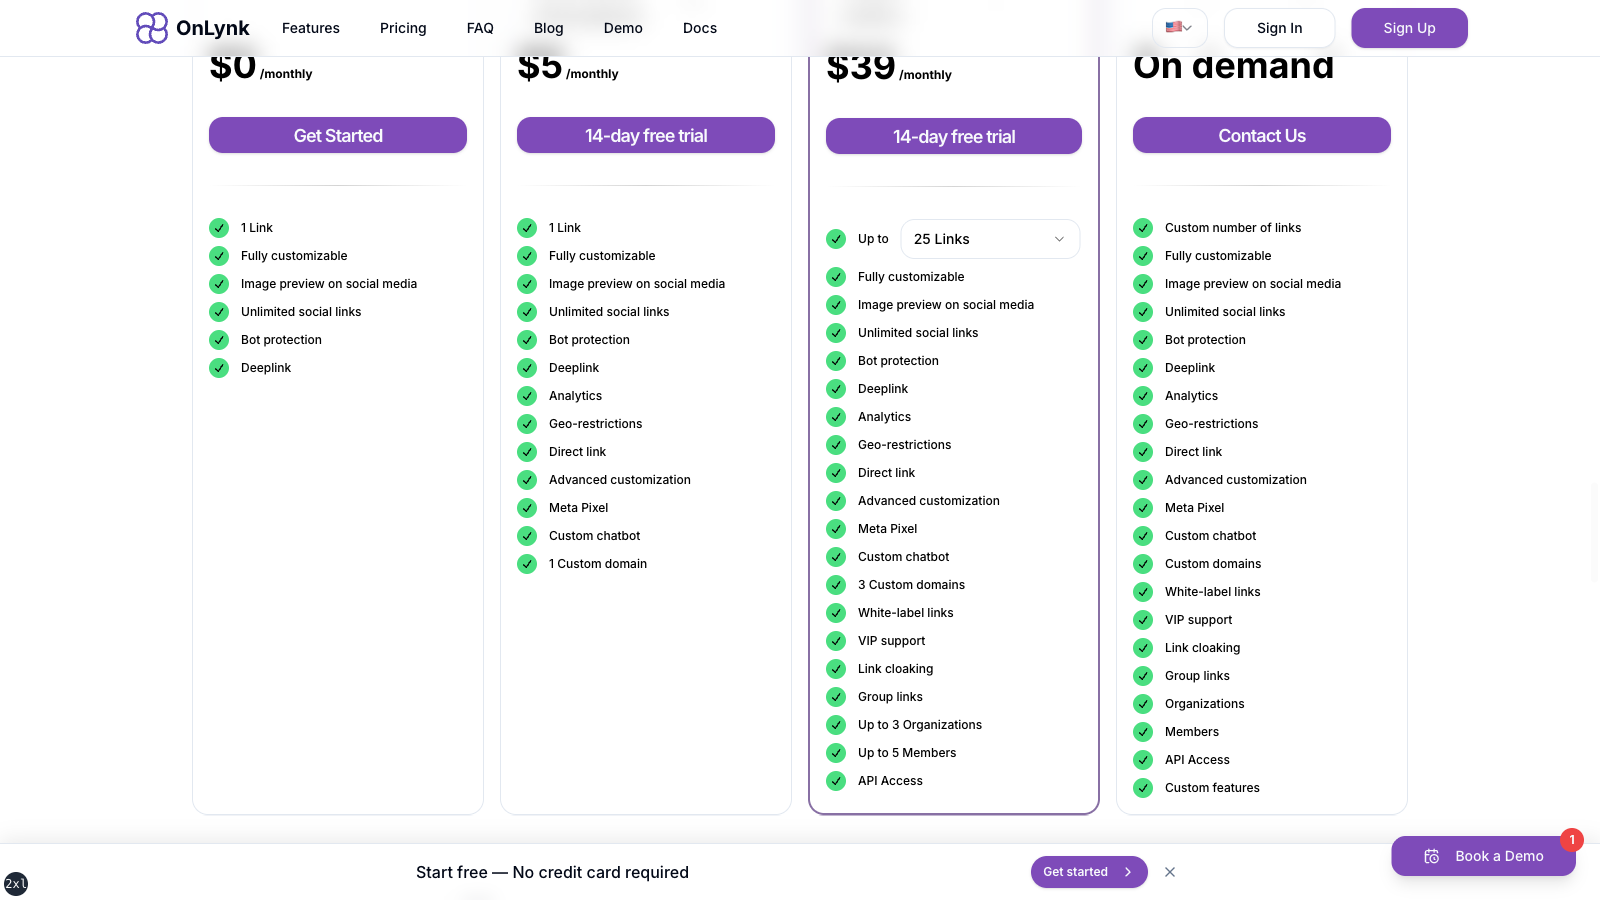
Scroll to **Features** and **Pricing** on the same page to compare plans before subscribing.
Features section — capabilities overview.Pricing — pick a tier that includes the options you need (analytics, geo, API, etc.).
---
## 3. Create an account
Open **Sign up** and complete the flow (email / OAuth depending on what the product shows).
Sign-up — create your account before opening the dashboard.
If you already have an account, use **Sign in** instead:
Sign-in — same account used for the dashboard and API keys (where applicable).
---
## 4. Dashboard — your workspace
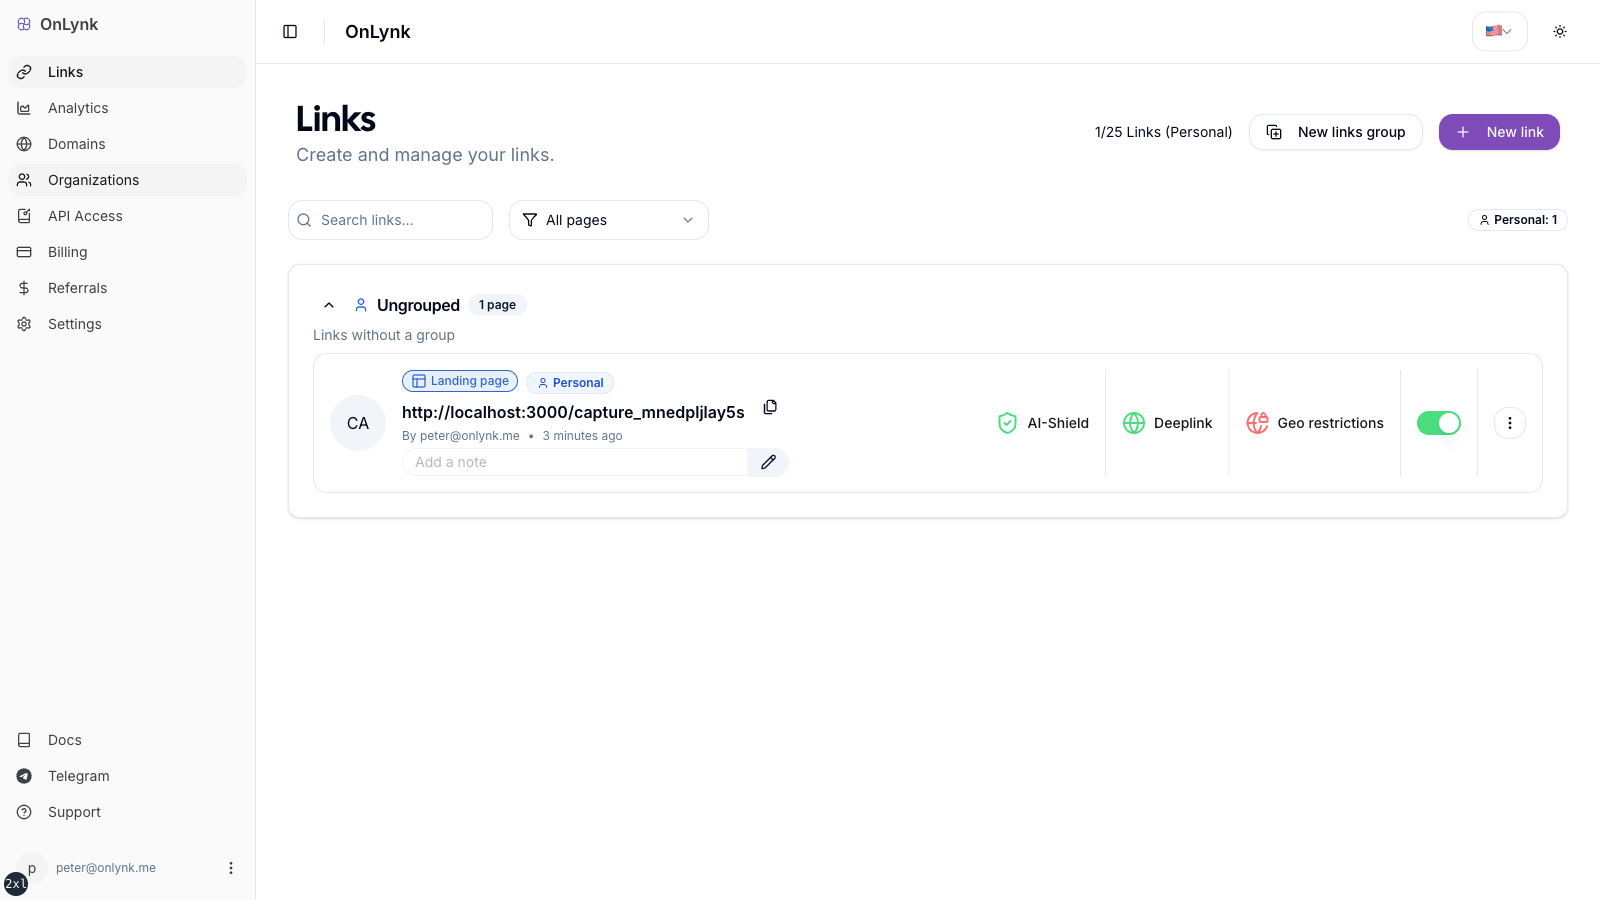
After authentication you land in the **dashboard**. From here you manage link pages, billing, and settings.
Dashboard home — start **Create new link** (wording may vary).
---
## 5. Create and customize a link page
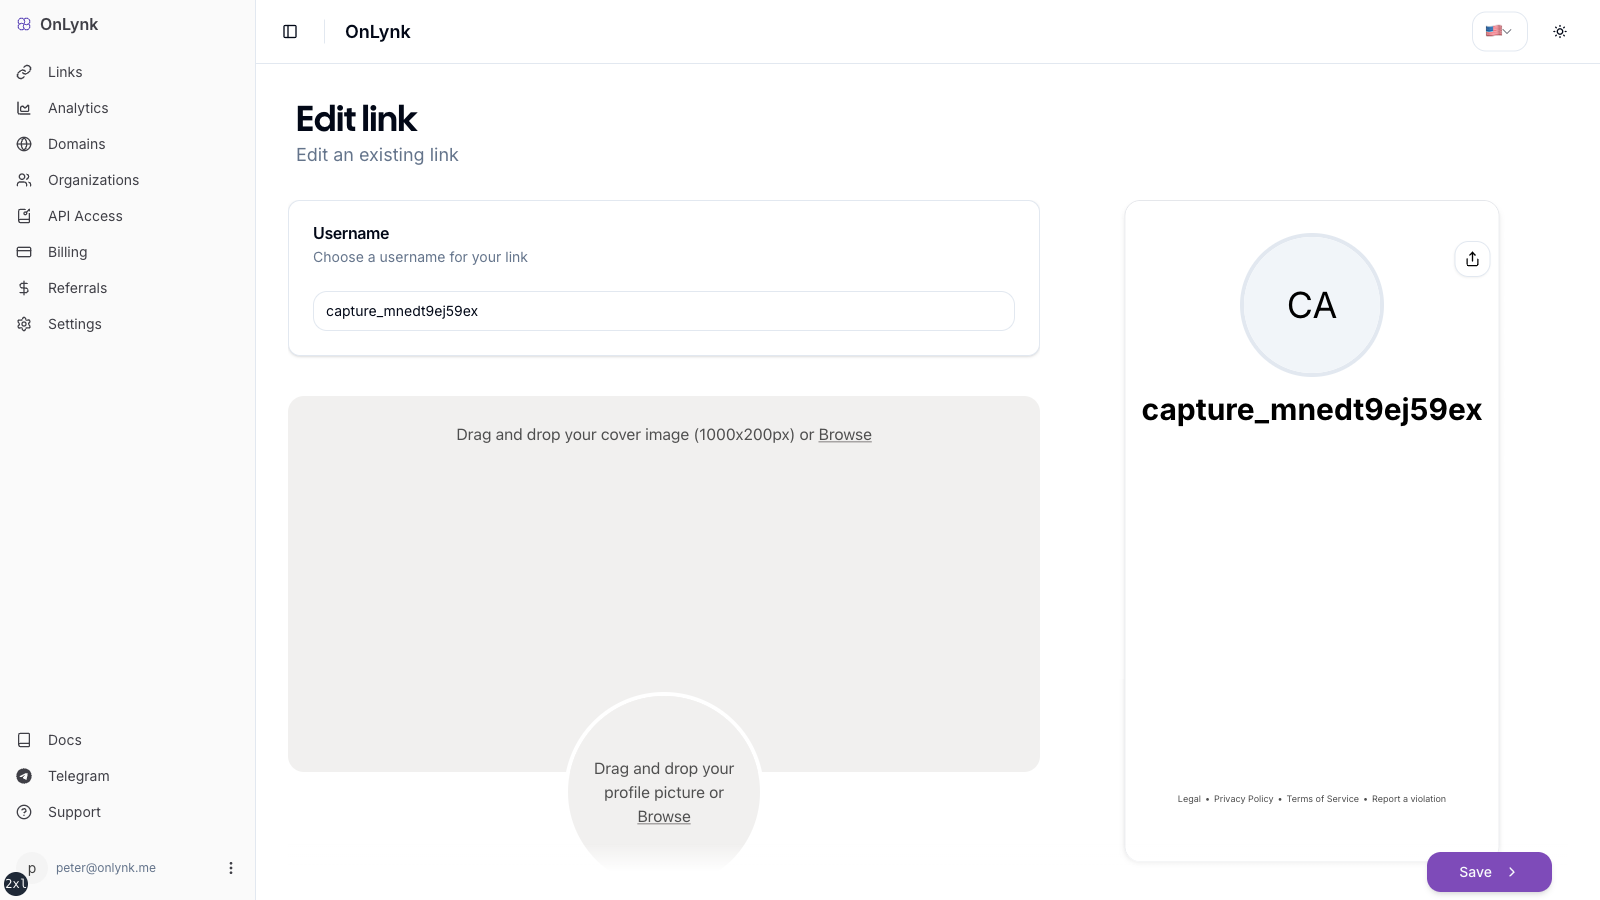
Open **Create new link** (or equivalent), then work through the steps in the UI. The screen below is the main editor — **do not** duplicate the field list here; see **[Create your first link page](https://docs.onlynk.me/create-your-first-link/)** for labels, validation, cloaking, appearance keys, and plan gates.
Editor — slug, details, socials, links, cards, colors, and advanced options by plan.
---
## 6. Analytics (per page, if your plan includes it)
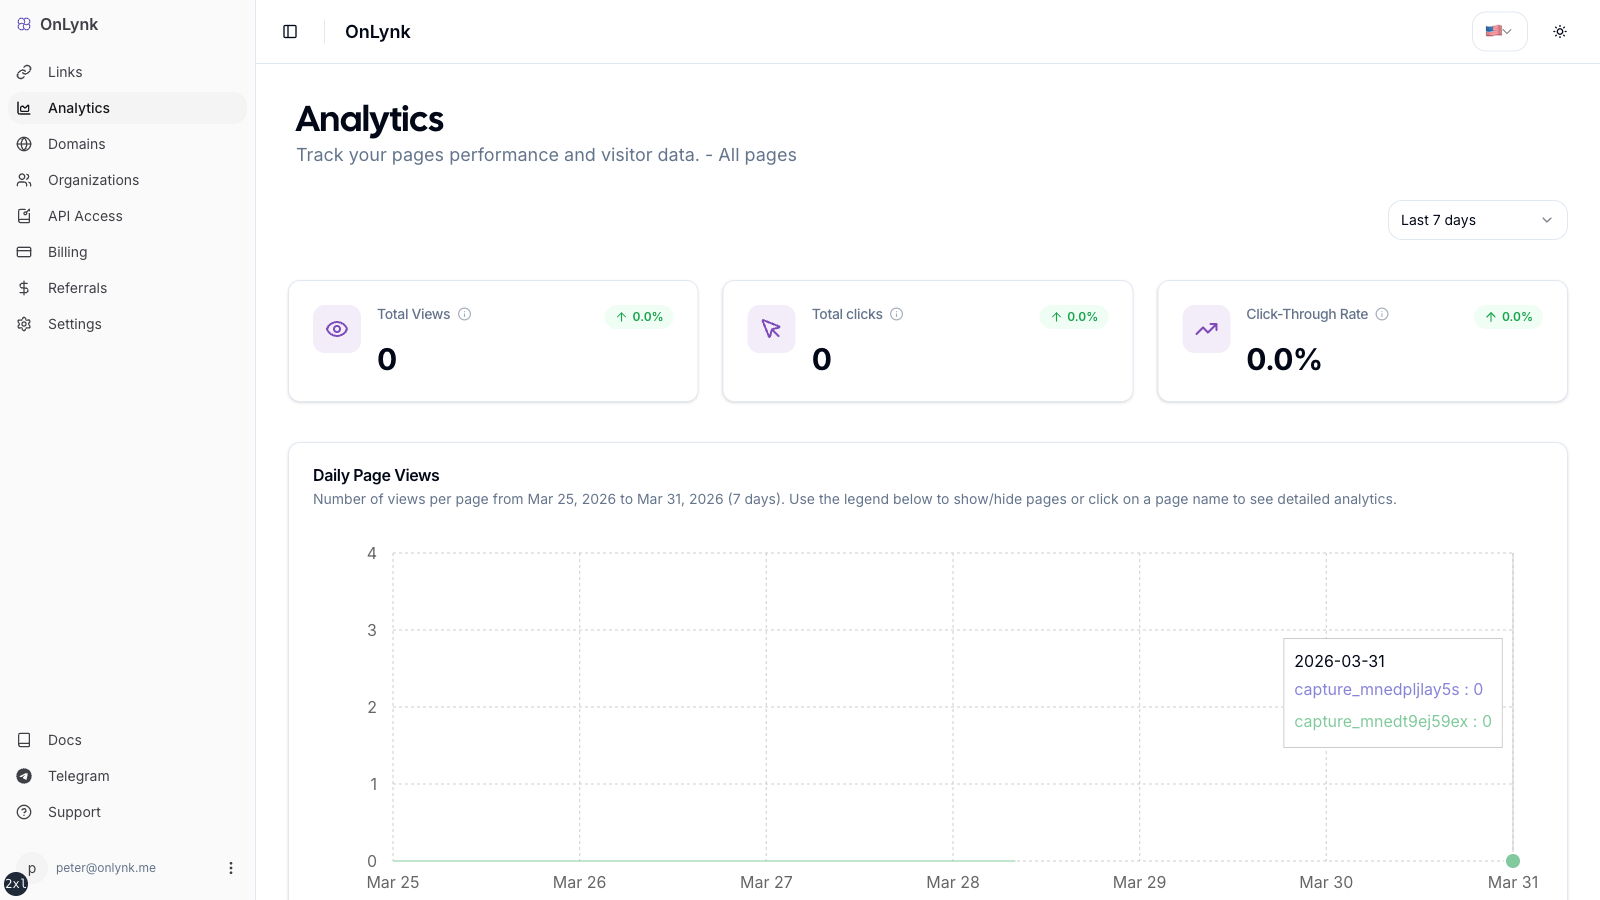
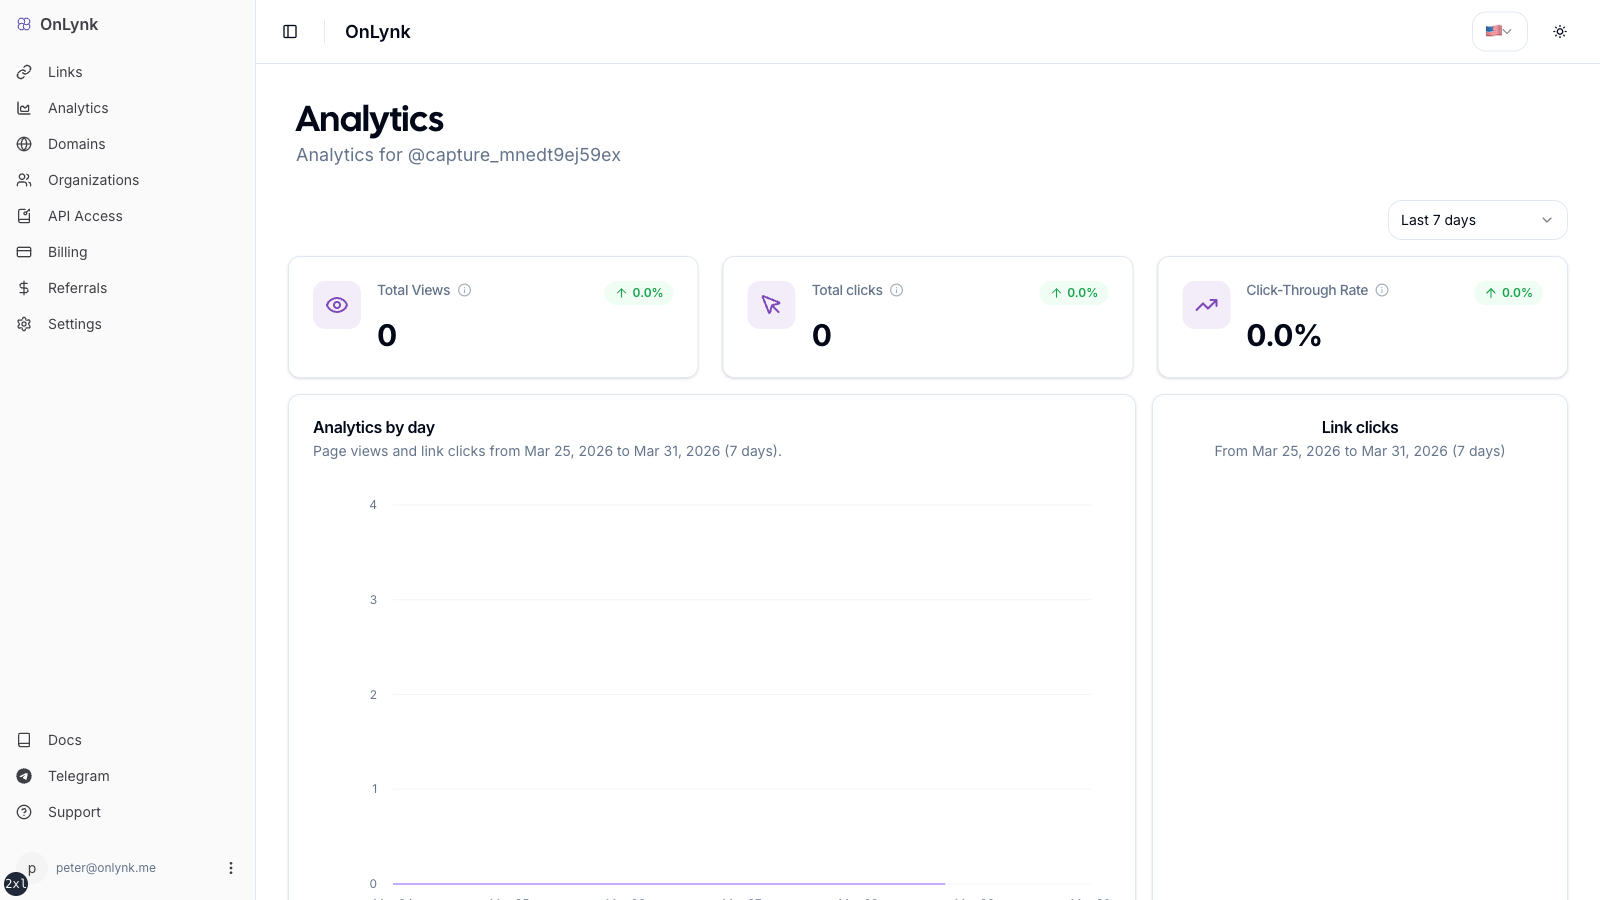
Open **Analytics** for a page to review traffic, referrers, geography, and clicks over a date range.
Analytics overview — global or workspace-level view when available.Per-page analytics — trends and breakdowns for that slug.
---
## 7. Geo-restrictions (if your plan includes it)
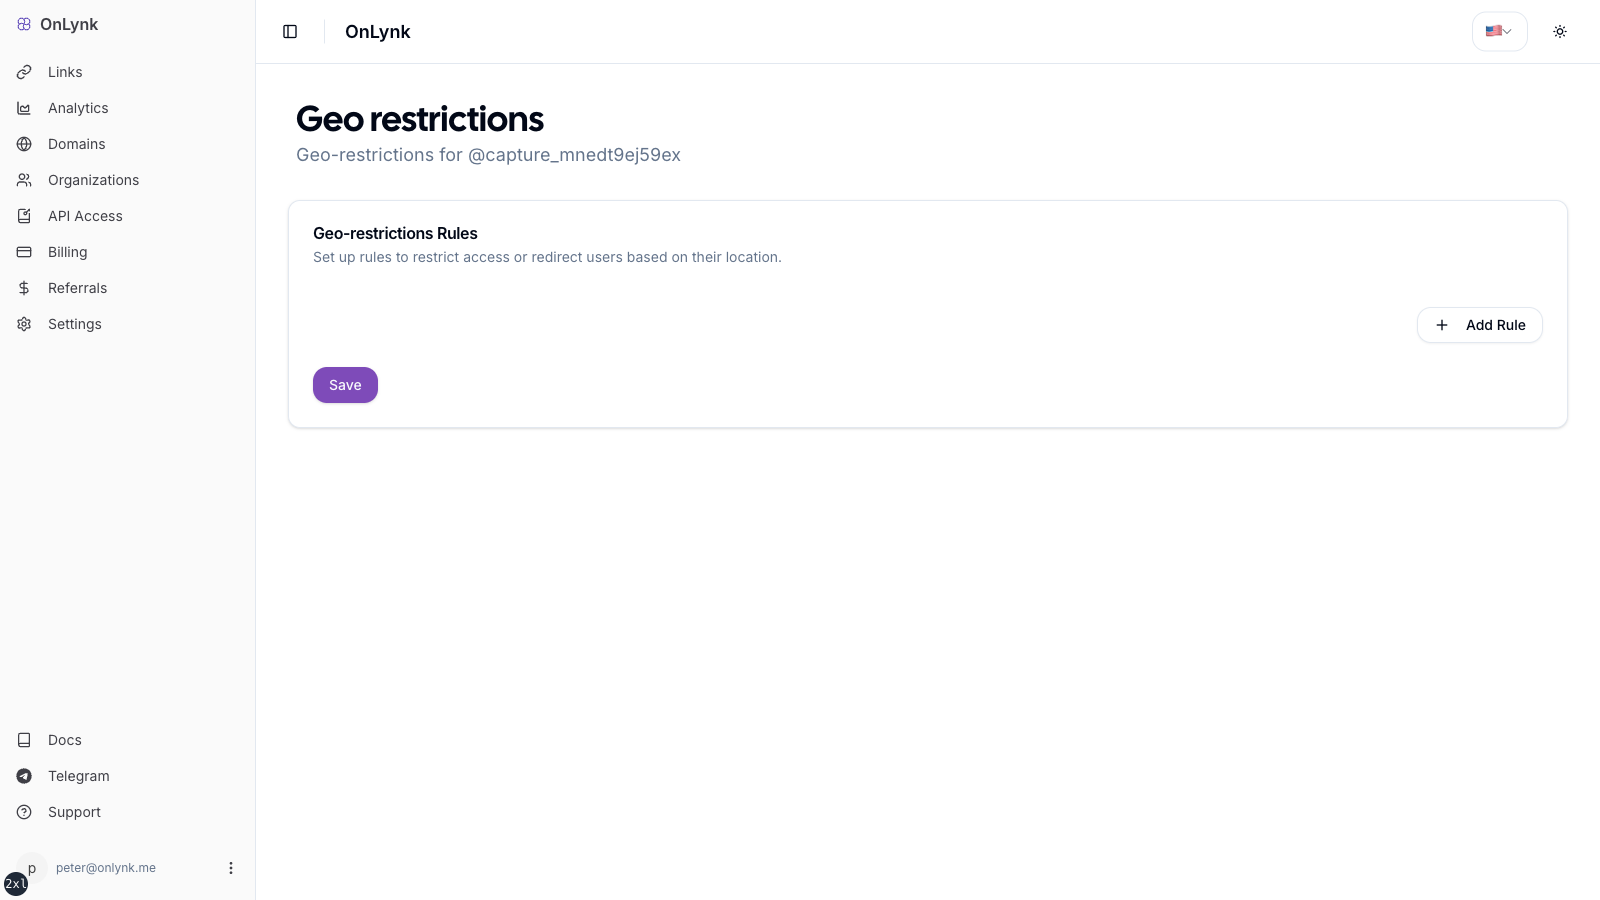
Configure **country / city** rules and actions (**BLOCK**, **REDIRECT**, **PAGE**) in the page settings.
Geo-restrictions — rules are evaluated per request; see also **[Geo-restrictions](https://docs.onlynk.me/geo-restrictions/)**.
---
## Next steps
- **[Create your first link page](https://docs.onlynk.me/create-your-first-link/)** — Editor reference (only place you need for field-by-field detail)
- **[Page analytics](https://docs.onlynk.me/page-analytics/)** — What is recorded and how to read it in the dashboard
- **[Glossary](https://docs.onlynk.me/glossary/)** — Event types and terminology